Step by Step Guide to Lighting a Knight Titan's Eyes
Next up after reposing a Knight Titan's Legs, I've decided that it would also be awesome to light up this models eyes... Unfortunately, I've never done any lighting on models before, so it took a little bit of figuring out. Fortunately for you however, I've made a pretty easy to follow tutorial so you can do the same for your own Imperial Knights.
First up, the materials
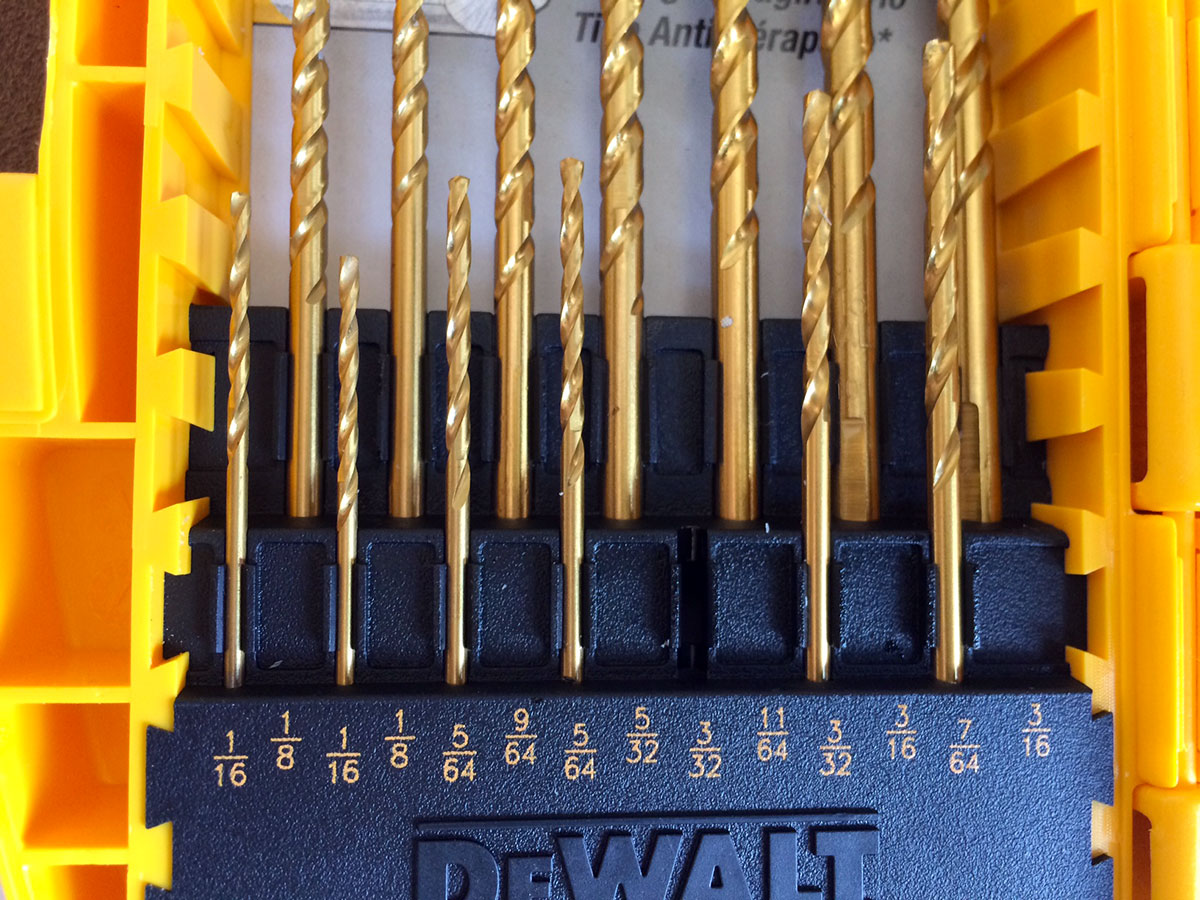
For this kit, I used the Powered Play green light kit, though it comes with 4 bulbs, you only need to use one string of two bulbs. In addition to my normal hobby tools, I used a bunch of various sized drill bits.
Drill baby, drill!
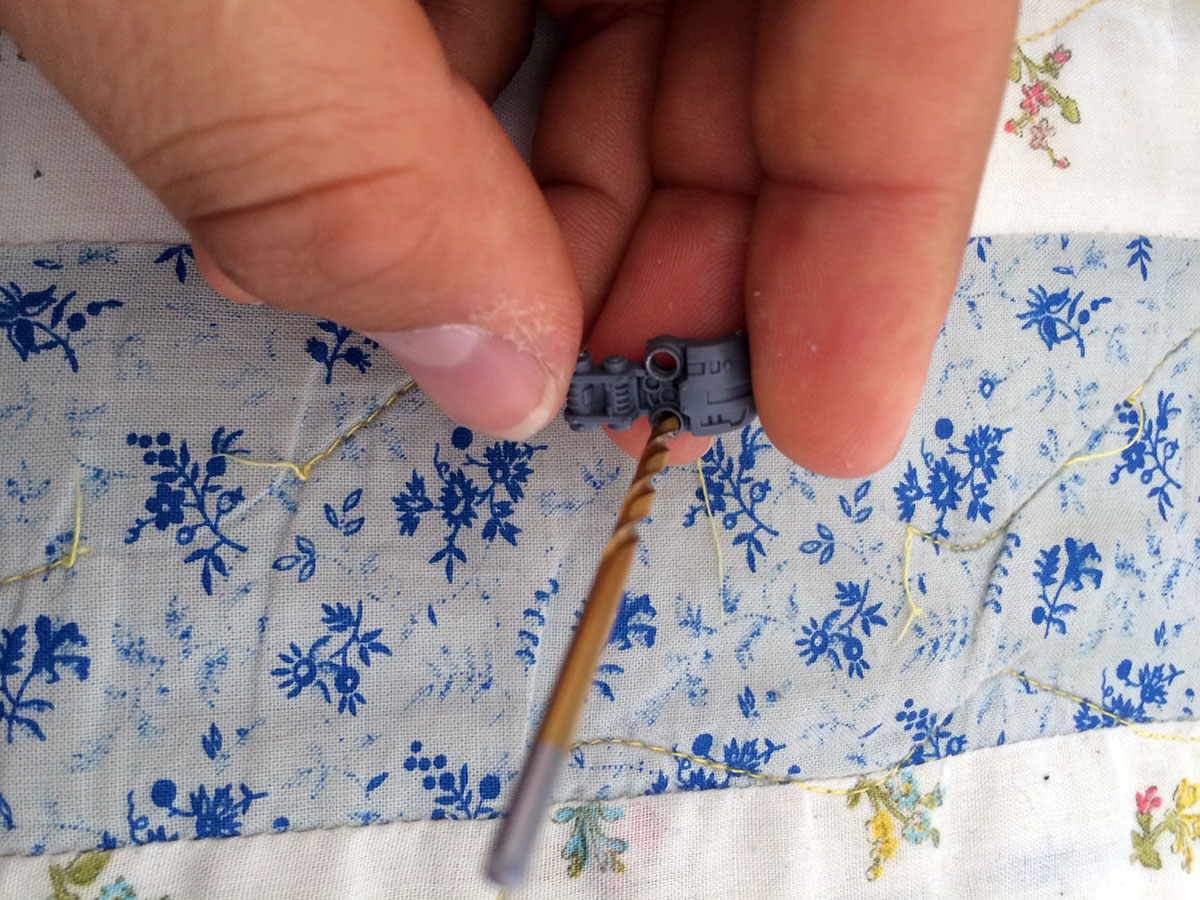
Entirely by hand, drill out the eye sockets of the front plate (pro tip, the eyes are exactly 3/32" in diameter).
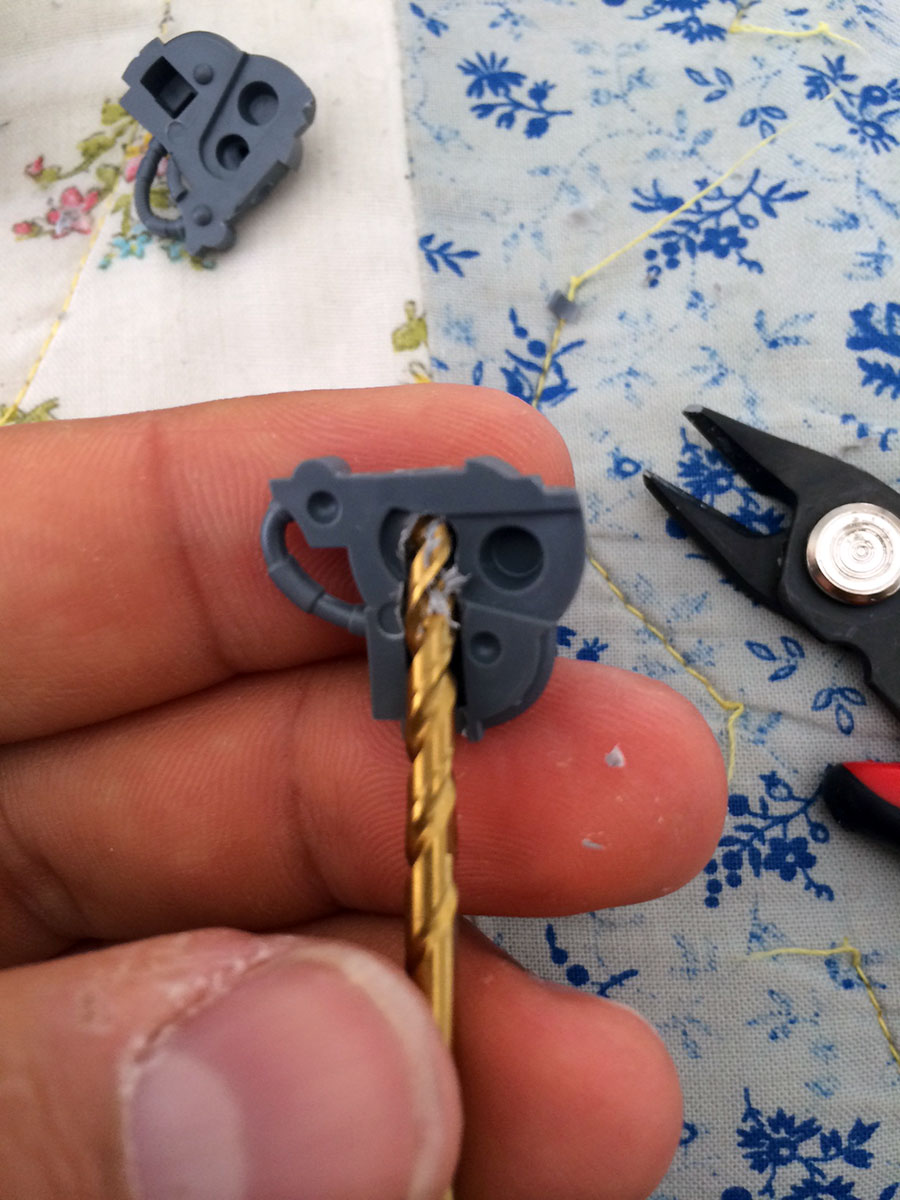
Afterward, you'll start drilling out the back part of the head pieces. First go inward into the head piece, in the same spot that the eyes meet up from the front plate, then from the back, using a slightly larger, 1/8" drill bit. Before you drill it from behind, you'll have to cut out the little bit of plastic between the two cavities inside the head, this was done pretty easily with a set of clippers and an xacto.
Little more cutting
After drilling out those places, cut out a hole in the back of the head for the wires to come out.
Then, cut out some of the vents in the torso of the Imperial Knight to allow the wires to be fed through. 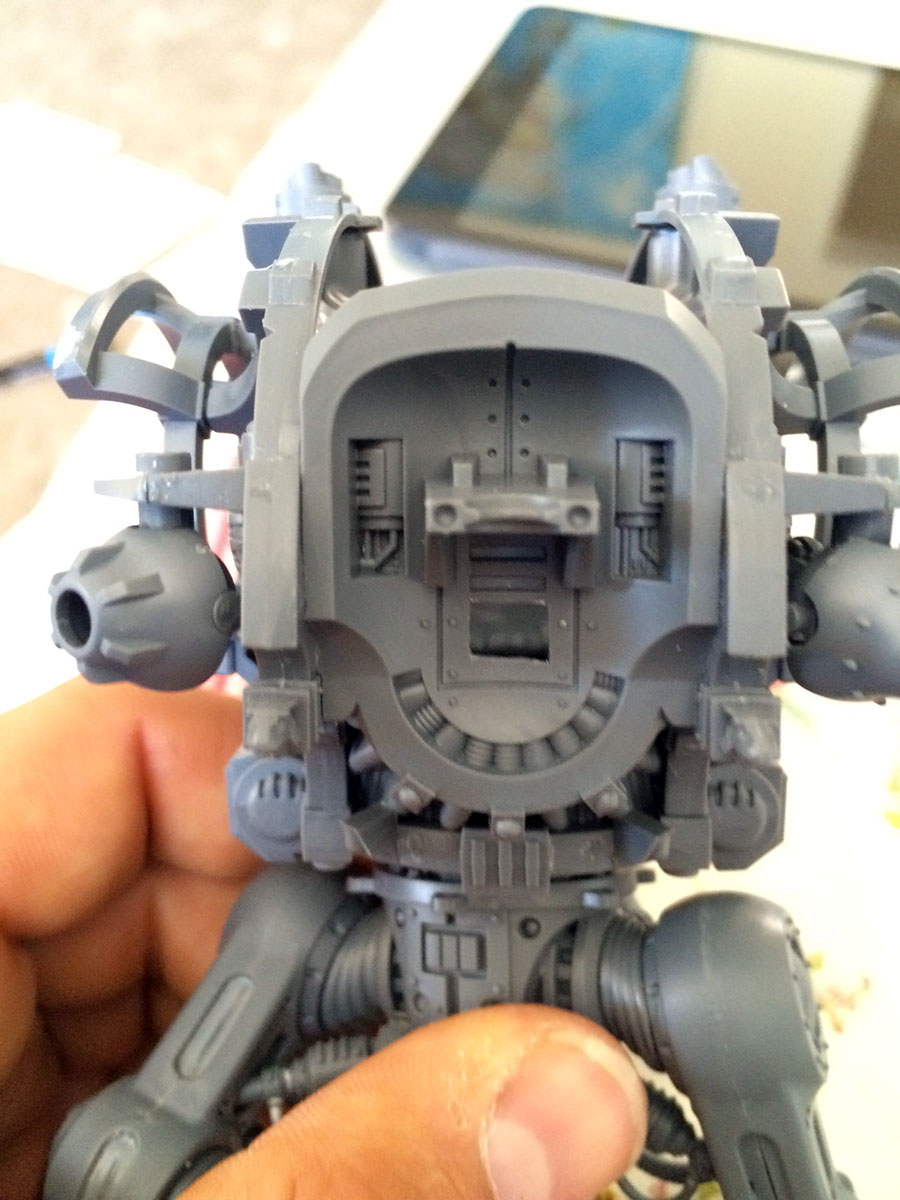
Make sure it fits
Before you glue the two head halves together, be sure that the lights fit inside both halves comfortably, and those two halves fit together normally.
You might notice that the hole around where my LED is fit is a bit larger, I used a 5/32" drill bit to hollow out that area a bit more to give the LEDs more room.
Glue it!
Now you just glue the two halves of the head together like normal.
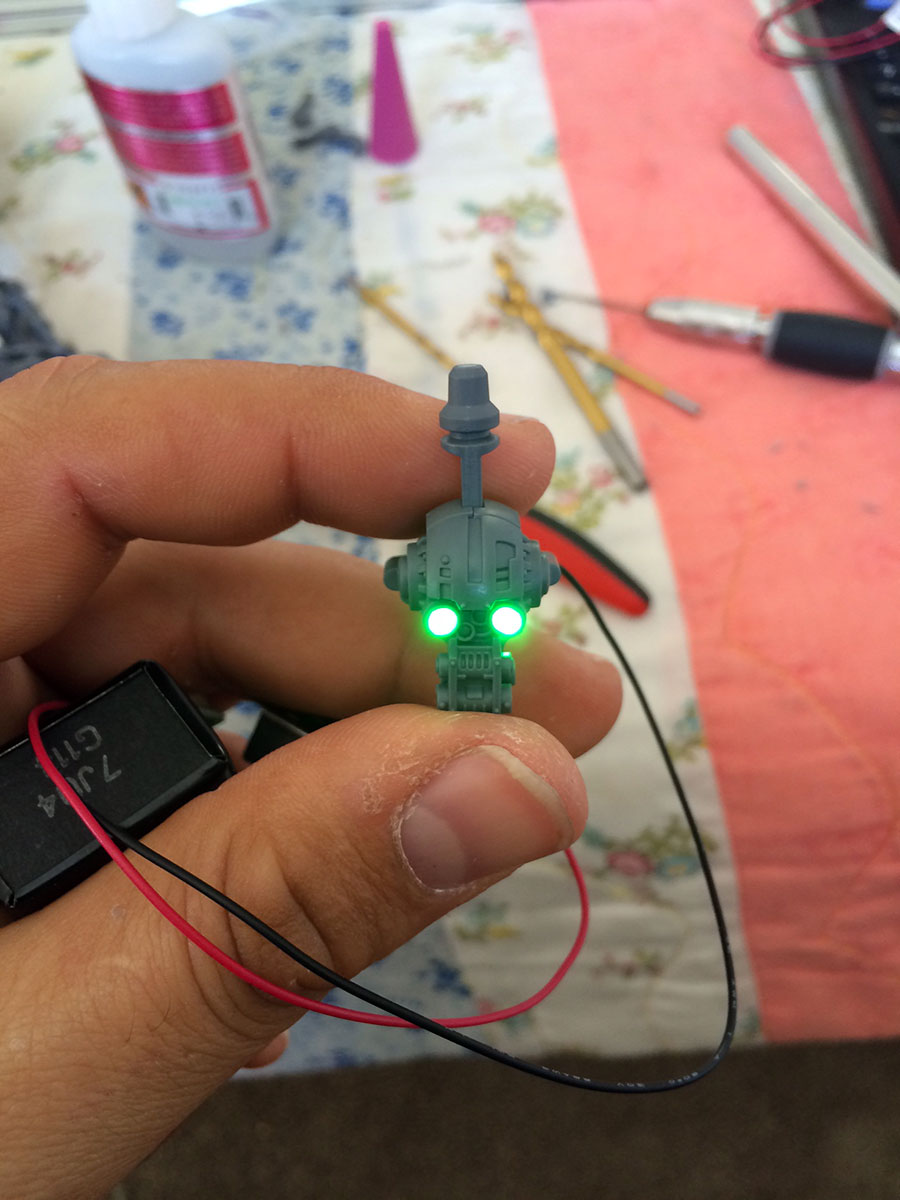 And finally, feed the wires through the hole you cut in the torso and glue the head into place like normal.
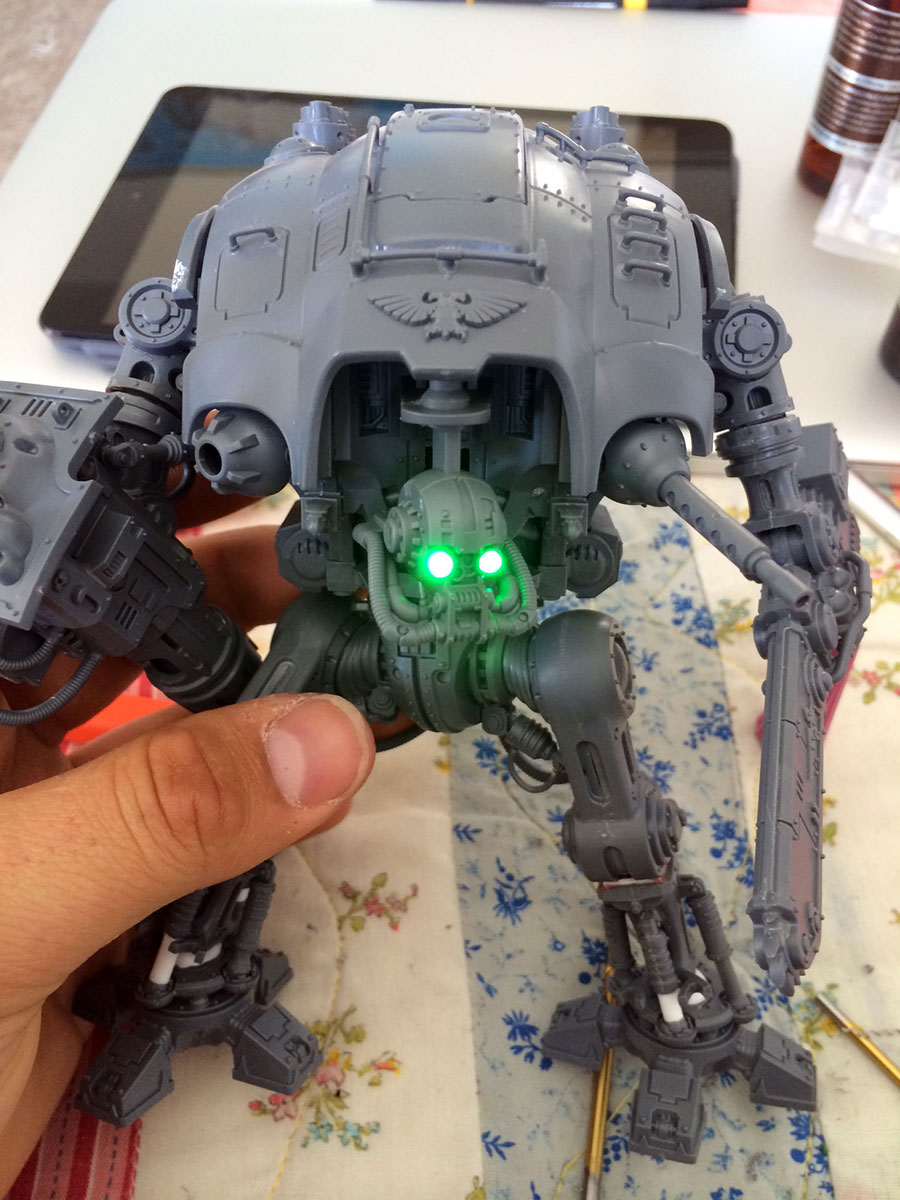 Wrap it up
The overall conversion was far easier than I expected it to be, anyone who has even moderate skills converting should have no problem whatsoever with this, having a set of drill bits really did help to make it much easier though.
Also, for those who made it this far, here's a sneak peek at the next part of the Knight I'm working on...


